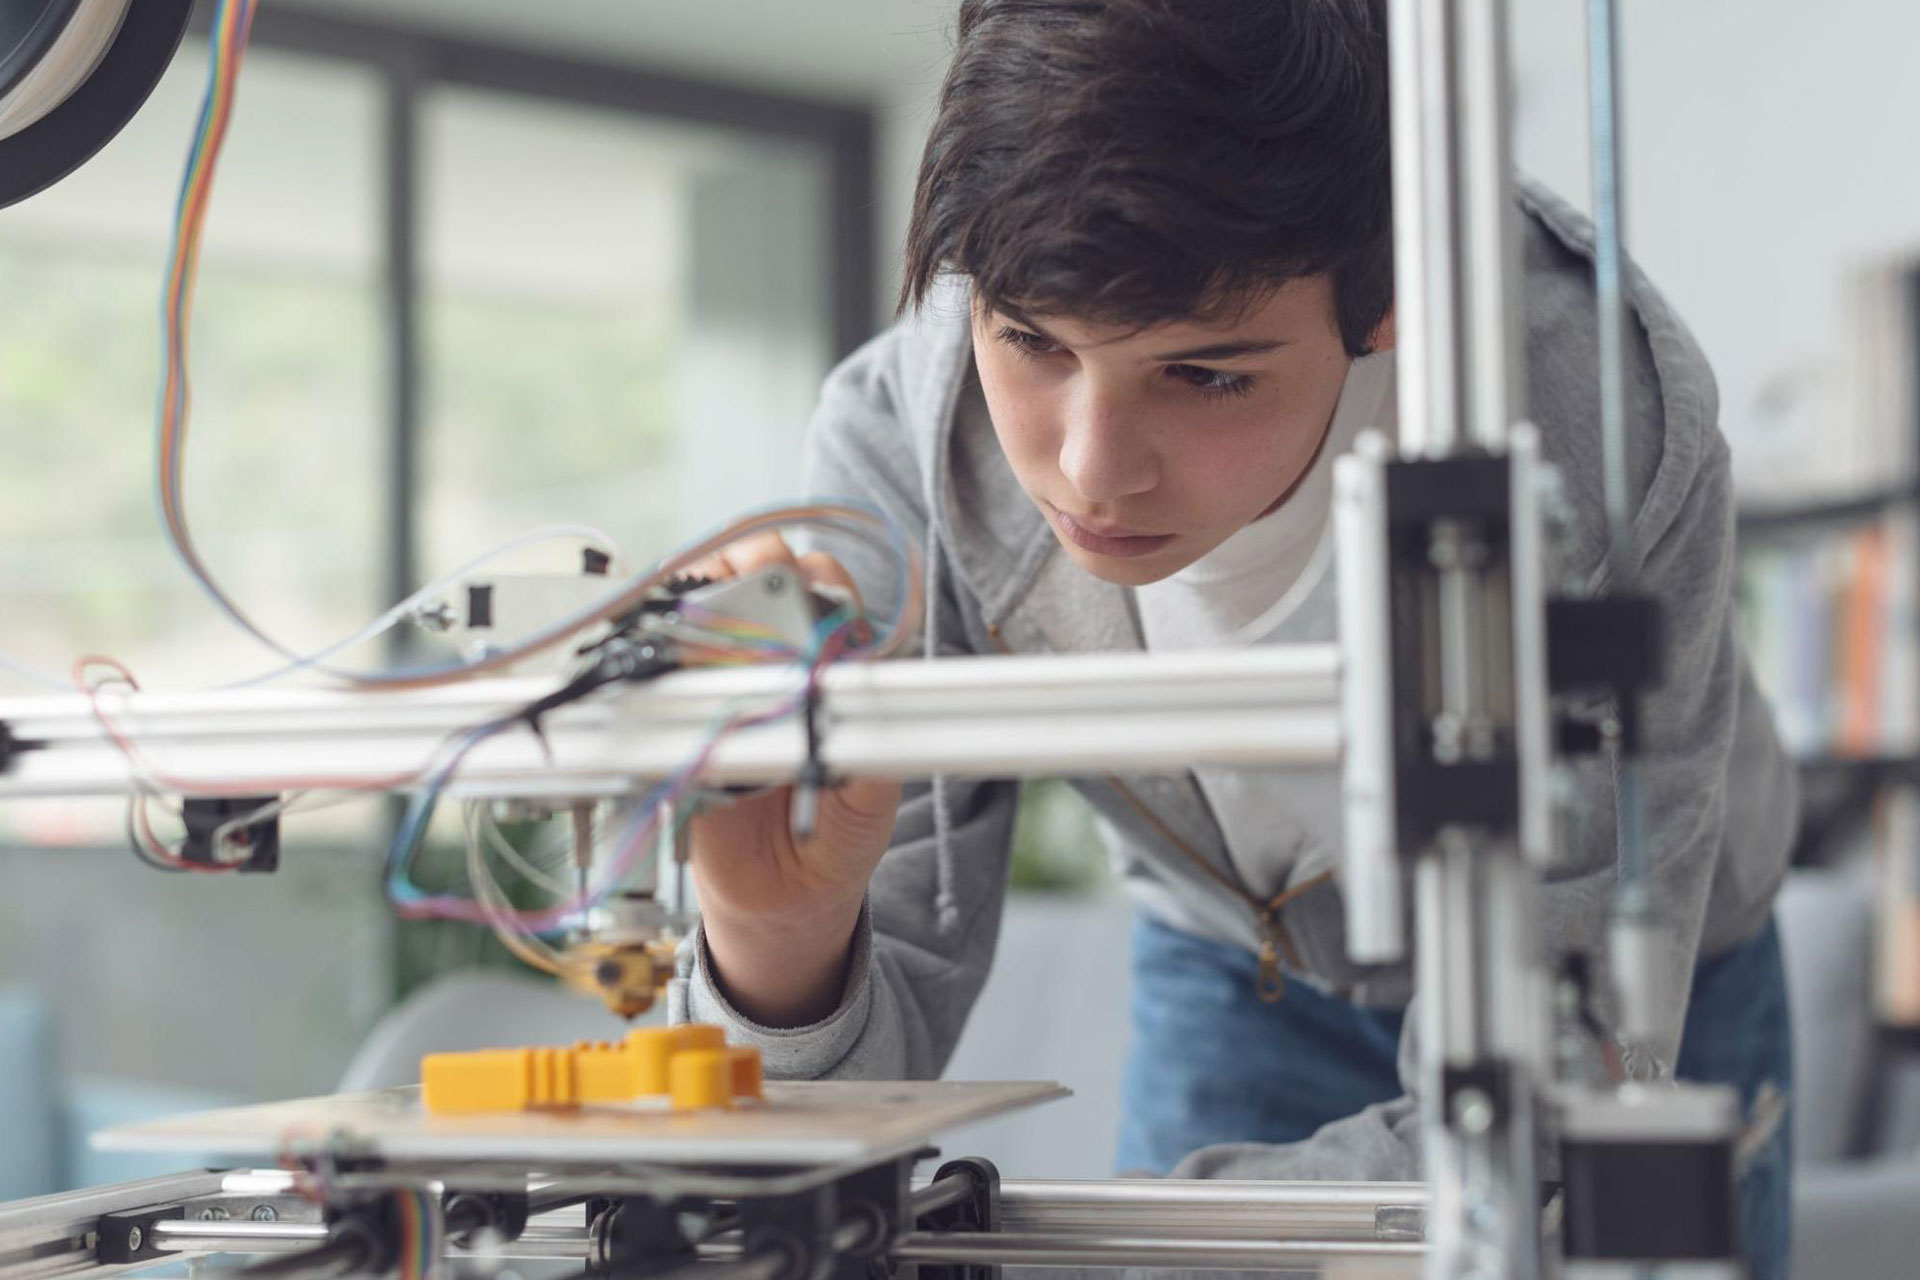
For people who have passion for 3D printing, the excitement of watching your creations take form, layer by layer, is a familiar sensation. However, as the saying goes, with great power comes great responsibility, and in the world of 3D printing, that responsibility often means dealing with a fair share of failures.
In this article, we’re here to help you avoid those common pitfalls and keep your 3D printing adventures smooth and successful.
On This Page
Common 3D Printing Failures
1. Layer Adhesion Problems
One of the most frequent 3D printing issues is poor layer adhesion. This means that the layers of your print don’t stick together as they should, resulting in a weak and brittle final product. Here are some common causes:
- Inadequate Bed Leveling: Making sure that your 3D printer’s build plate is perfectly level is essential. If it’s not level, the first layer won’t adhere properly, and you’re setting yourself up for failure.
- Incorrect Print Temperature: Using the wrong temperature for your material can also lead to layer adhesion problems. Make sure you’re using the manufacturer’s recommended temperature settings.
- Print Speed is Too High: Printing too fast can cause the layers to cool too quickly, leading to adhesion problems. Slow it down for better results.
2. Warping
Warping is when your print starts to lift and deform at the corners or edges. This problem is often associated with materials like ABS, but it can happen with others too. Common causes of warping include:
- Inadequate Bed Heating: Some materials require a heated bed to prevent warping. See to it that your printer’s bed is heated to the right temperature for your chosen material.
- Drafty Environment: Working in a drafty room can cause uneven cooling of the print, leading to warping. Keep your workspace well-ventilated, but avoid direct drafts.
3. Over-Extrusion and Under-Extrusion
Over-extrusion occurs when too much filament is pushed through the nozzle, leading to a blobby mess. Under-extrusion, on the other hand, results in gaps and weak spots in your print due to insufficient material flow. Below are some of the possible causes:
- Incorrect Flow Rate: Make sure that your printer’s flow rate or extrusion multiplier is appropriately calibrated for the specific filament you’re using. This adjustment ensures that the right amount of material is extruded during the printing process.
- Clogged Nozzle: A dirty or clogged nozzle can cause erratic extrusion. Regular maintenance is key to preventing this issue.
4. Stringing and Oozing
Stringing happens when your 3D printer leaves thin strands of material between different parts of your print. Oozing is when the nozzle continues to extrude material even when it’s not printing. Both of these issues can be prevented by adjusting retraction settings in your slicer software.
How to Avoid 3D Printing Failures
Now that we’ve identified some common 3D printing failures, let’s look at how you can avoid them and keep your prints coming out perfectly.
1. Proper Bed Leveling
Take the time to ensure your 3D printer’s bed is leveled correctly. Most 3D printers have manual leveling knobs or automatic bed leveling features. Follow your printer’s instructions and use a piece of paper to check the nozzle’s distance from the bed, making necessary adjustments.
2. Temperature Matters
Use the manufacturer’s recommended temperature settings for your chosen material. Keep in mind that different brands and types of filament may require different temperatures. Experiment to find the ideal temperature for your specific filament.
3. Slow Down the Speed
Printing too quickly can lead to a host of problems, including poor layer adhesion and even inaccuracies in the final print. Adjust your print speed in your slicer software to match your printer’s capabilities and the chosen material.
4. Heating the Bed
For materials prone to warping, a heated bed can make all the difference. Check if your 3D printer’s bed is heated to the right temperature before starting a print. Most slicer software will provide bed temperature recommendations.
5. Eliminate Drafts
Warping can be aggravated by drafts in your workspace. Avoid printing near open windows, fans, or air conditioning vents. Keep your workspace as draft-free as possible.
6. Calibrate Extrusion
Calibrating your printer’s flow rate and extrusion multiplier is important for preventing over-extrusion and under-extrusion. You can find guides and calibration prints online to help you get these settings just right.
7. Nozzle Maintenance
Regularly clean and maintain your 3D printer’s nozzle. If you notice any clogs or irregularities in extrusion, stop the print and address the issue. It’s easier to prevent problems with a well-maintained nozzle.
Related: How to Maintain Your 3D Printer: 6 Tips and Tricks For You
8. Retraction Settings
To prevent stringing and oozing, tweak the retraction settings in your slicer software. Retraction settings control how much filament is pulled back into the nozzle when the print head moves between different parts of your model. Experiment with these settings to find the sweet spot that works for your printer and filament.
3D printing is a fascinating hobby with endless possibilities, but it does come with its fair share of challenges. Understanding the common failures and how to avoid them is the first step in becoming a successful 3D printer enthusiast. Maintain your printer, and always be on the lookout for any issues that may arise during printing. By following these guidelines, we hope that you will be well on your way to 3D printing success!
Looking for quality 3D printing in the Philippines? Contact us today to learn more about our products!

